Use Case: From SED fitting to Age estimation. The case of Collinder 69
[Introduction] [User data] [Upload file] [Model fit] [HR diagram] [Save Results]
Uploading a user file.
Once the data file is ready, go to the Upload File tab and click in the Browse button (take into account that, depending on your browser language, the displayed word could be different).
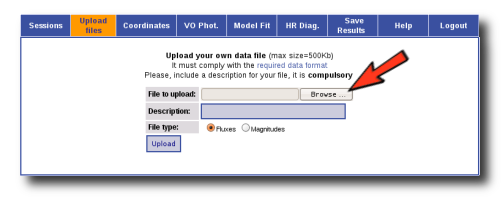
(click on the image to see full size)
A new window will open so that you can browse your file system and select the data file to upload.
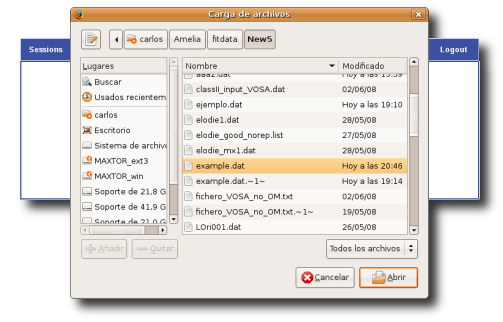
(click on the image to see full size)
Then, you must fill in the form. Give a description to the file and make sure that you mark the Magnitudes option because the user photometry, in this case, is given in magnitudes. Then click in the Upload button.

(click on the image to see full size)
If everything goes ok, a ... has been successfully uploaded message will appear.
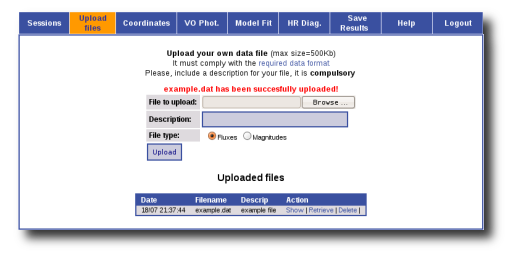
(click on the image to see full size)
For each file that you have uploaded you can click in the Show to see its analyzed contents. If everything has gone ok, you will see a small table for each object, with the properties given in the file and the flux densities corresponding to each filter.

(click on the image to see full size)
If something has gone wrong, delete the file, check its contents and try to upload it again.
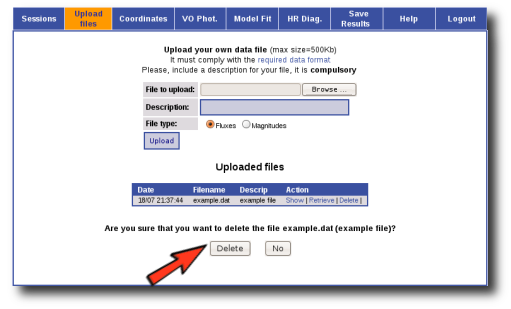
(click on the image to see full size)
|